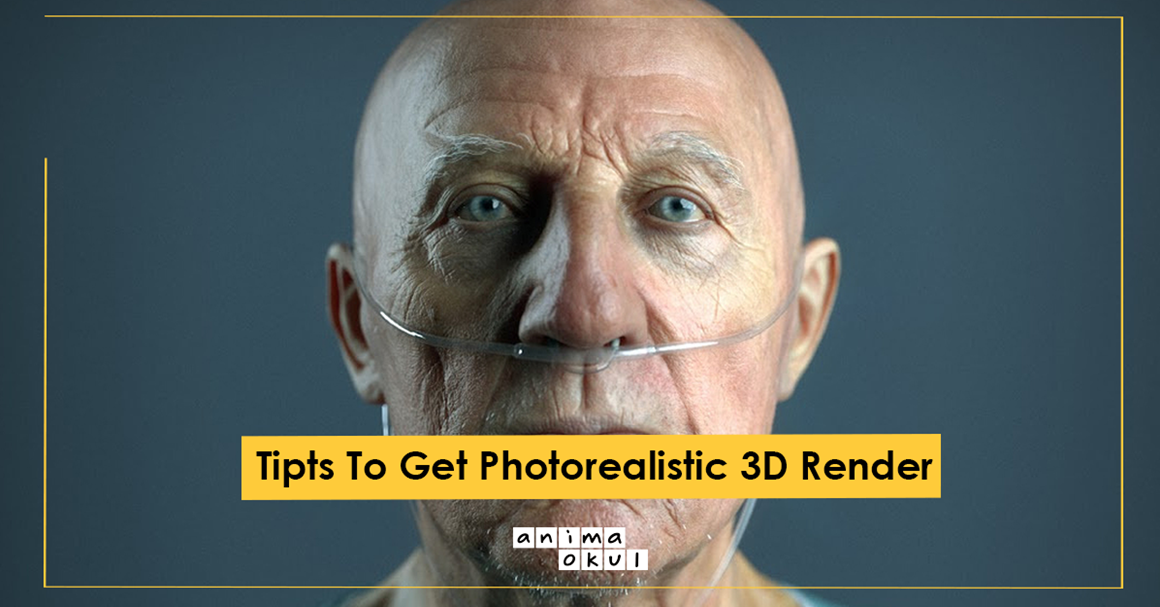
TIPS TO GET PHOTOREALISTIC 3D RENDER

How about delving into the art of rendering and learning the intricacies of photorealistic rendering? We have brought together the tricks of photorealistic 3D rendering for you…
Start with Good Reference Material
If you are modeling something that has an example in real life, it would be logical to collect as much reference material as possible about the object you are modeling. Collecting and working from the top, side and front images of the object or creature you are modeling will help your model become more perfect in every aspect and give your model a better proportion.

Measure to the Real World
For a photorealistic rendering, it's important to scale the scene units correctly and model your work on a real-world scale. By doing this you can also make it possible for stage lighting to appear as it does in real life. Sizing your model to the real world will also make it easier for you to place any dynamics that build on top of the main stage units, such as fabric or liquid.
Pay Attention to the Horizon Line
If we want to render photorealistic, we should avoid using a simple, straight horizon line in our images. Because such an image directly creates the impression of an “unnatural” stage. You can create a much more realistic image using the horizon line presets.

Keep Meshes As Clean As Possible
Keeping meshes clean and relatively low poly will always work. This application is a proven rendering technique that will help you keep the scene size lower and make it easier for you to work on complex models.

Soften Hard Edges
Very few real-world objects have hard edges. For this reason, you can give your models a much more realistic look by softening the hard corners. Using soft corners will make the corners visually brighter when you light your model. However, if the models studied are complex models, chamfering the corners may tire you out.

Avoid Boolean Whenever Possible
When it comes to 3D modeling of non-organic shapes, you may find it easy to use Boolean holes instead of making holes one by one using your hands. This strategy may save you time in low resolution rendering processes, but resorting to Boolean in high resolution rendering processes can lead to unpredictable results.
The advantages of high-quality rendering cannot be overstated, and when the meshes are uneven, lights cannot be refracted and reflected correctly on the model. It is beneficial to avoid Boolean as much as possible, as it can change refractions and reflections in the model. To drill holes on a flat surface, you will need to convert the mesh into an editable poly and chamfer a specific corner using the "vertex selection" option.

Pay attention to even the smallest detail
Even the smallest details in 3D modeling are enough to change the whole perception. Maybe it's good to take shortcuts or ignore little details that aren't obvious and easily seen. But it's the little details that make viewers believe the render is real.
Use Advanced Textures
It would be a logical choice to create high-quality textures or use existing advanced textures to achieve a more realistic image.
Do Not Hesitate To Use “Vray Override Material” When Necessary
When a product is rendered in the studio, sometimes the color of the background can overpower images. This can affect elements such as reflection, shadow colors, refraction of light in 3D rendering and visualization processes. Maybe this may not cause problems in some cases, but there will be situations where it does. In such cases, the use of VrayOverrideMtl is very useful.
Add Linear Workflow
Use a 32-bit linear workflow to make the results of your render more realistic. 8-bit images such as jpg, .tga and .bmp files are gamma encoded when saved. This causes them to appear properly on the monitor. But the visible image is not the real image, it is an illusion. These images are much darker than they normally appear on the monitor. To make the image brighter, you need to add more and more intense light, which means a waste of time and a longer rendering process.
When using a linear workflow, you can use real-world settings to brighten the scene. This way, you won't need lighting tricks to make images look realistic, and you won't have to deal with contrasting renders and exploding lights.

Prefer Three-Point Lighting
Three-point lighting is known to be an ideal setup when lighting a product in the studio. This setting consists of a key light, a fill light, and a backlight. As the key light priority light source, it illuminates the product and greatly affects the image of the shot. Fill light, in contrast, carries a lower intensity. Thanks to this light, the shadows created by the key light are eliminated. The backlight is placed behind the product for a three-dimensional view and separates the object from the background.

Utilize V-Ray Settings
For new users it can be a bit difficult to adapt to the V-ray settings. But experienced professionals will have no trouble working with these settings. Of course, it is not possible for us to define any setting as “true” or “false”. The accuracy or inaccuracy of a setting depends on the scene to be illuminated and the desired view. But some settings will help users start to make VRay more realistic.

Take Control of Shadow Settings Using VRayLight
It is not recommended to use VRaySun or directional lights to create sharp shadows. For sharp shadows, use VRayLight, allowing you to easily manipulate the degree of light to achieve a higher intensity.
Applying shadows using VRayLight will give you more control over the sharpness and softness of your shadows. Less light will allow you to create a harder shadow as the intensity will be higher, and high light will allow you to create a softer shadow because the intensity will be less.
Source: Arch Daily